If you’re streamlining your hiring process through the Applicant Tracking Software (ATS), learning how to sort and filter applicants by status can save you loads of time. Below are easy, step‑by‑step instructions to help you get started – and a helpful workaround if you want to filter applicants who don’t yet have a status.
Step 1: Sort Applicants by Status
Navigate to the job posting in your ATS and open the Applicant Grid.
In the toolbar above your applicant list, locate the Status column header.
Click on Status to sort the list in ascending alphabetical order (A → Z).
Click Status again to invert the order, giving you descending alphabetical order (Z → A).

Step 2: Filter Applicants by Status
From the Applicants list, click the dropdown menu next to Select status (or similar wording) above or beside your list.
Check one or more status boxes representing the statuses you want to see.
Click Apply to filter the list so that only applicants with the selected status(es) remain.

Tip: Sort by Workflow Stage Using Numbered Statuses
If your recruitment workflow moves through distinct stages (for example: Initial Review → Phone Interview → Offer Letter → Hired), here’s a smart trick: prefix each status with a number (1, 2, 3…) so your list orders logically by stage rather than strictly alphabetically.
For example:
- Initial Review Complete
- Manager Review Complete
- Phone Interview Scheduled
- Phone Interview Complete
- n Person Interview Scheduled
- In Person Interview Complete
- Offer Letter
- Hired.
By doing this, sorting ascending will reflect your actual workflow sequence.
Important: When you customize your Status options (including renaming or numbering), those changes will only apply to new applicants or those without a status. Applicants who already have a status assigned will not retroactively update.
? Workaround: How to Filter Applicants Who Don’t Have a Status
Currently, our system does not support searching or filtering for applicants who have no status assigned.
However, you can work around that by automatically assigning a status to all new applicants. Here’s how:
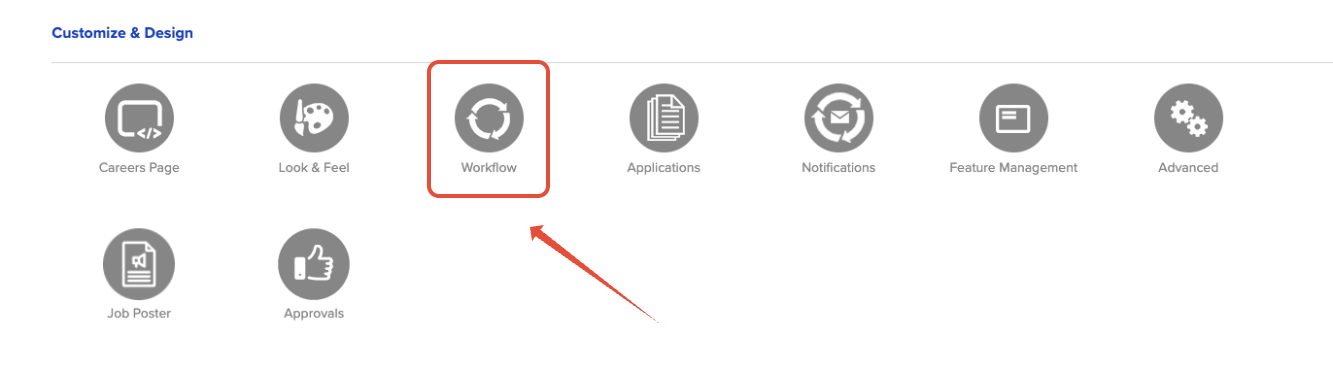
In the main menu of your ATS, go to Account Details.
From there, select the Workflow section.
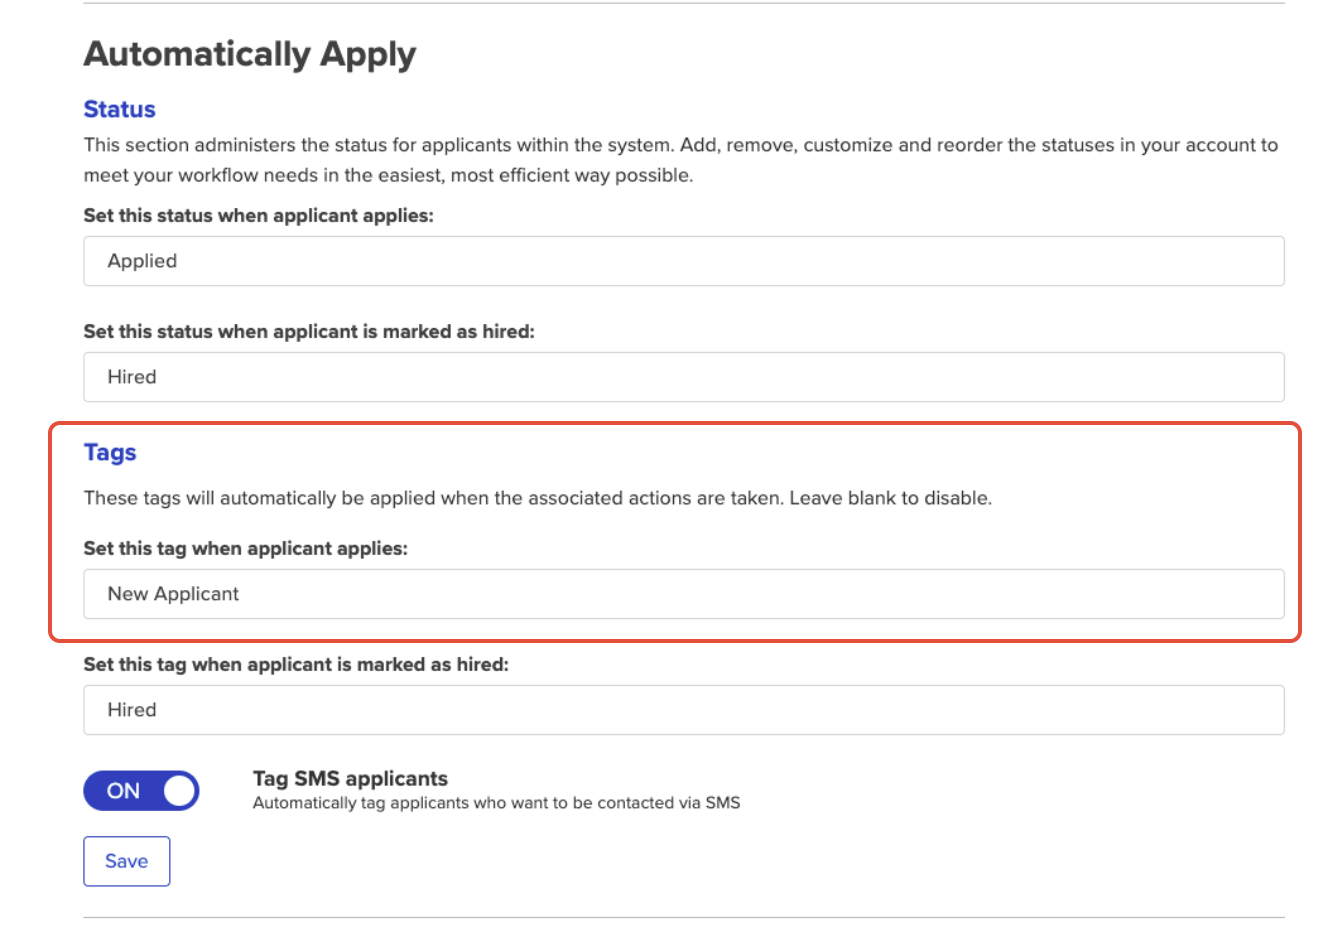
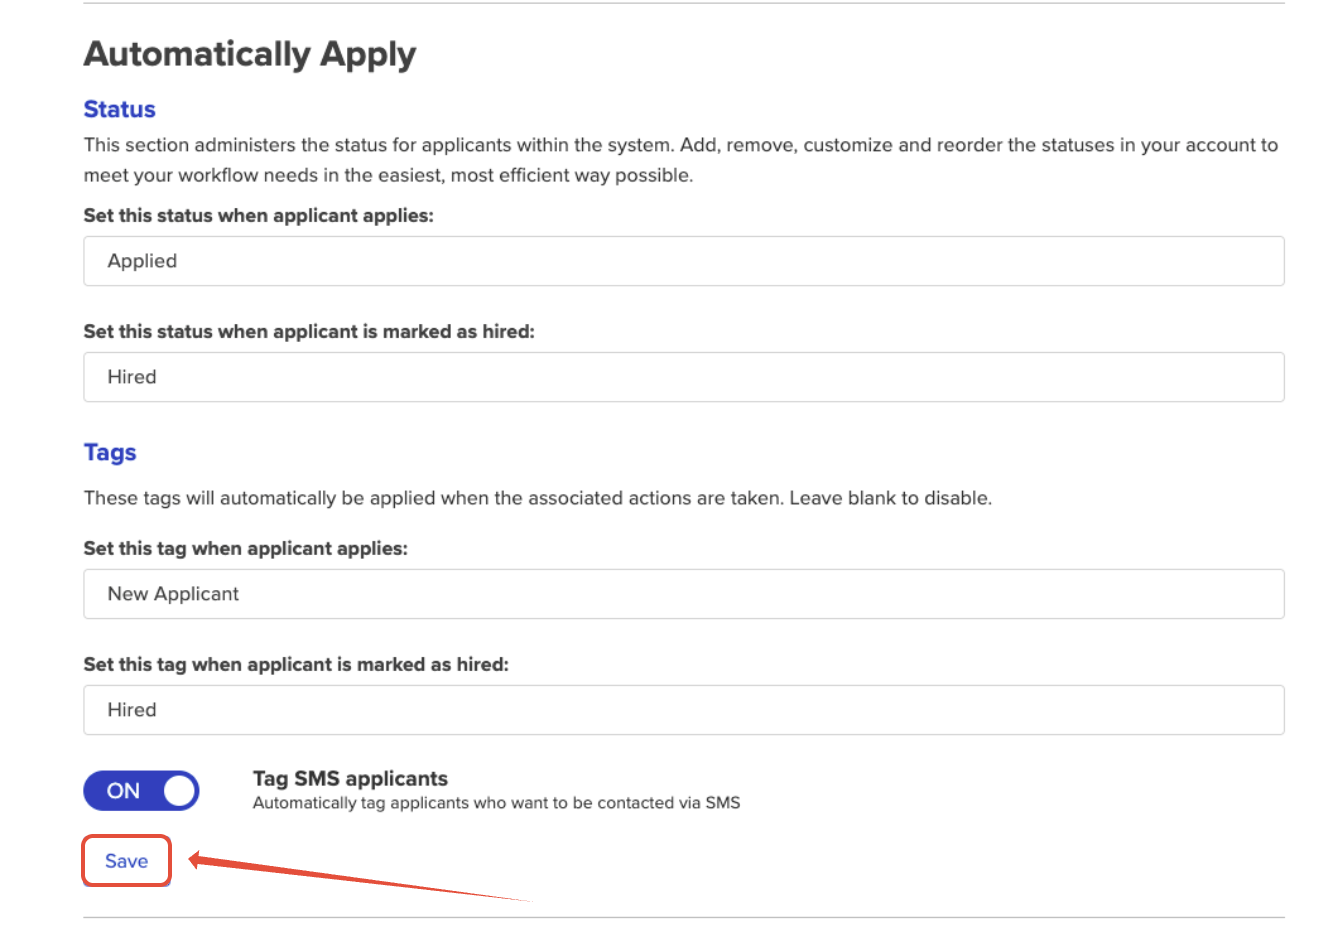
Scroll down to the section labeled Automatically Apply.
In the field labeled “Set this status when applicant applies:”, choose a default status (for example, “Applied”) that will apply automatically to every new applicant.

In this same section, you can also apply tags, if that is helpful to your team.
Don't forget to save your changes
From now on, any applicant who submits an application will automatically be given that default status. You can then use the filter we described above to select that status and view all new applicants.
Why this helps
Prevents applicants from having no status, making them easier to locate and manage.
Lets you filter specifically on “new” applicants – those who applied after you set the rule – and process them in one go.
Ensures your workflow remains clean, organized, and aligned with your team’s hiring steps.
A Few Final Reminders
Be sure to customize your status list before large numbers of applicants apply, if possible, since existing applicants will not inherit new statuses by default.
If you rename statuses, make sure you update any internal documentation or shared processes so your team stays aligned.
Remember to train your hiring managers that the filter and sort tools are two separate actions: you sort for sequence or order, and you filter to show only a subset.
Thanks for taking the time to refine your workflow. If you run into any hiccups, please don’t hesitate to reach out to our support team. We’re here to help you get the most from the ATS—and make hiring easier.
Happy hiring!